How to Do Acrylic Nails: A Step-by-Step Guide
With so many nail extensions to choose from, it can be hard to decide which ones are right for you. Of course, you want the perfect-looking nails to complement your style but you don’t want to be going to the salon every week or so to fix any chipped and broken nails.
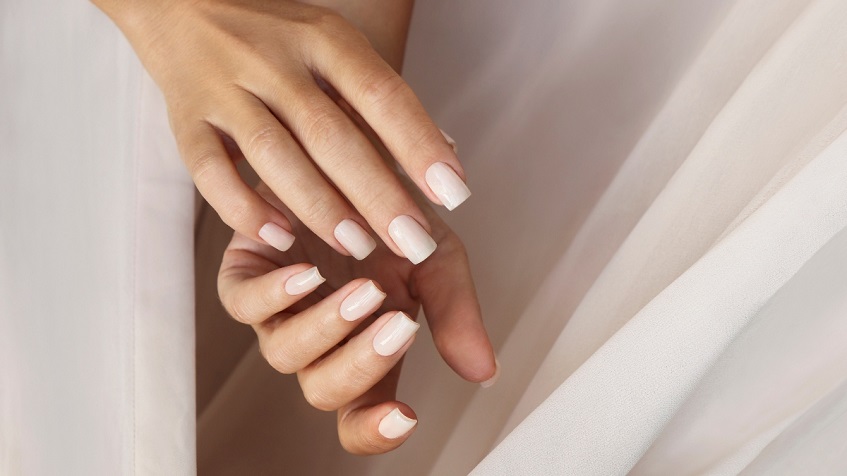
Acrylic is the perfect nail extension option if you’re struggling with nail health with brittle nails that break easily. It can save you time and money in the long run because it’s resistant to chipping and breaking, lasting much longer. And with the help of the internet, you can learn how to do acrylic nail extensions at home.
Contents
What is Acrylic Nail Powder?
Acrylic is a polymer that needs a liquid monomer to be activated. Once the acrylic powder comes in touch with the monomer, it bonds and creates a lightweight, yet strong nail extension.
The activation process requires an acrylic brush to be dipped in the monomer, then tapping the tip of the brush in the powder three times to create nicely shaped glossy beads.
Are Acrylic Nails Better Than Gel Nails?
Acrylic nails are much more affordable than gel nails. They’re also known for their durability and sturdiness without requiring UV/LED lamps for the curing process as the convenient acrylic nail powder cures while you’re working on the nails, not after the application.
Gel nails are shinier and look more natural than acrylic because the gel formulation is much thinner and therefore, more similar to natural nails. Acrylic has a much thicker consistency, and when applied it creates a bulkier coat which may contribute to a more artificial look.
However, acrylic nails are much stronger than the gel alternative. They can last up to six weeks and are less likely to break. That’s why acrylic is a great solution for weak and brittle nails or for those who do a lot of manual work.
For the removal process, acrylic nail powder can be removed by soaking up the nails in acetone for around 20 minutes. Gel removal is a bit more complicated and requires several steps to completely remove the gel coat from your nails.
What is the Difference Between Dip Powder and Acrylic Powder?
Both dip and acrylic powder are resin-based powders. However, there are some differences between the two, and it’s important to know them so you know which one should you use.
The biggest difference is in the texture, with the dip option being much finer. They require different materials to be applied and both have different functions. To apply acrylic, you need an activator, whereas, for dip you need a bonder and activator.
For a dip powder to be activated, the nails must be covered first with a base coat and then dipped into the powder. To activate the acrylic, you must dip the brush in a monomer and then pick up the powder with the tip of the brush and start applying it to the nails.
You shouldn’t use a normal dip powder as an acrylic one. This will result in a chunky and thick formulation that cannot be applied to the nails nicely and smoothly like with an acrylic polymer.
How to Choose the Right Acrylic Powder?
It’s important to invest in a high-quality acrylic nail polymer and monomer and know that not all powders are created equally the same.
First things first, you want to start with a monomer that has a purple tint to it to avoid any yellowing of the nails. Although using a clear monomer is perfectly fine, you risk getting a yellowing effect on the nails and this is something worth noting when looking for the right monomer.
The second most important thing for achieving the perfect acrylic formulation is to choose the right powder. Look for powders that are highly pigmented, have a smooth and buttery consistency, and offer an even colour coverage. Avoid acrylic powders that are chalky and crumbly.
What do you need to get started?
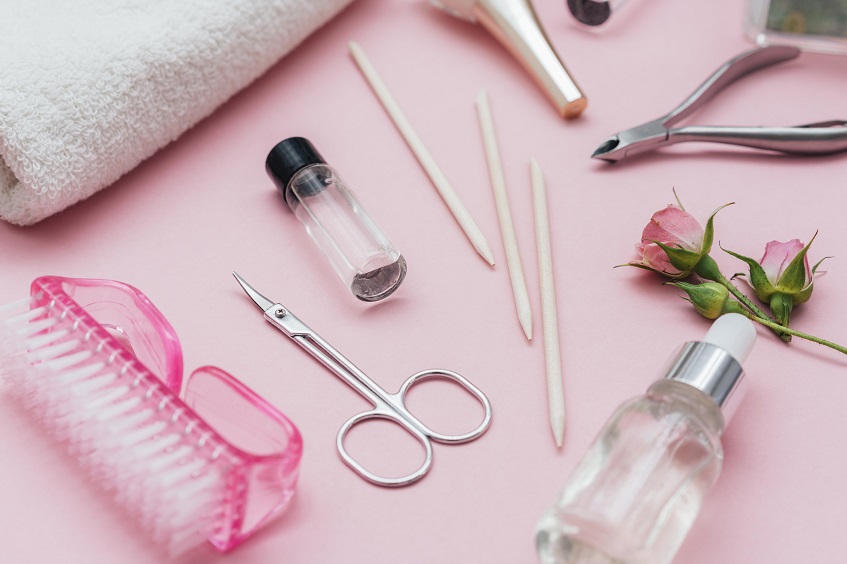
To start the acrylic application, you will need:
- Nail files, buffer, cuticle pusher
- Dehydrator
- Primer
- Nail tips and glue
- Clear powder
- Colour powder
- Monomer to activate the acrylic
- Acrylic brush
- Top coat to seal everything in
Now since you’ve got your supplies right, it’s time for the fun part.
Step-by-step Acrylic Application

If you’ve never had any experience with acrylic, the process can feel intimidating. But don’t let that worry you and stop you from giving yourself your long-dreamed nails. It takes practice and patience to master the acrylic skills. Don’t rush with the process and take your time with the following steps:
Step 1: Press lightly with the cuticle pusher to push the cuticles away.
Step 2: Use a sanding band with medium to fine grit to remove the shine of the natural nail. it’s important to remove all dead skin to avoid lifting, and create the perfect base for a smooth application.
Step 3: On clean nails, go ahead and glue the nail tips on the end of your natural nails. Trim them to the desired shape and length and go over with the file to shape the tip of the nail.
Once you’ve done that, go again with the sanding band over the entire surface of the nail to smooth out any bumps and irregularities. You want to have a nice transition between the end of your natural nail and the point where the nail tip starts.
Step 4: To prep the nails for acrylic application, apply the dehydrator only on the natural nail and, once it dries, go over with the primer. You also want to apply primer only to the natural nail bed.
Step 5: Apply a clear acrylic powder before going with the powder in colour and make sure to not go over the cuticles. This is done as a prevention from staining. Additionally, if you decide to change the colour you’ll be using over the clear one, all you need to do is file down to the clear layer.
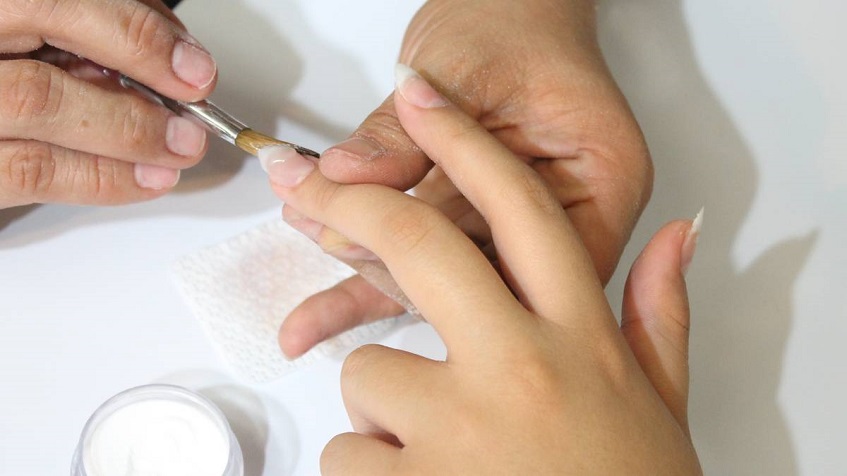
Step 6: Take a brush and dip it in the monomer. Carefully pick up the amount of monomer needed for the consistency you want to achieve. Then use the same brush to pick up acrylic in your desired powder colour to apply it on the entire nail and mould it to the shape of the nail.
Avoid using more monomer than you need. If you’re just a beginner, use a smaller brush to avoid a very watery bead. But also if you don’t have enough monomer on your brush, the bead will be super dry and it can’t be applied to the nail properly. The liquid-powder ratio is very important. If you don’t have any experience, practice a few times until you get the right consistency.
Hold the brush at an angle of 45 degrees when you dip it in the powder and tap it two to three times until there is enough powder needed for the bead. Be sure to use only the tip of the brush to pick up the powder. When you pick up the bead, if it looks glossy, it means you did a good job.
Step 7: Before you start applying the acrylic in colour, wet the nail with a little bit of monomer for an easier and smoother application. Start applying the bead over the entire nail, avoiding the cuticles. Carefully drag down the bead with the brush to mould it into the shape of the nail and blend it with the rest of the bead, so you get a nice curve along the edges of the nail.
Step 8: Use the clear acrylic again to encapsulate so everything is nice and sealed.
Step 9: Use the file again to remove any bulk acrylic, even out the surface and give a nice and final shape to the nails. Clean off the nails to get rid of any debris and use a top coat as a last step of the acrylic application.
Now, after you’ve mastered the acrylic application and know what to look for when starting with the process, you’re ready to give yourself a luxurious and professional-looking manicure!
No Comments